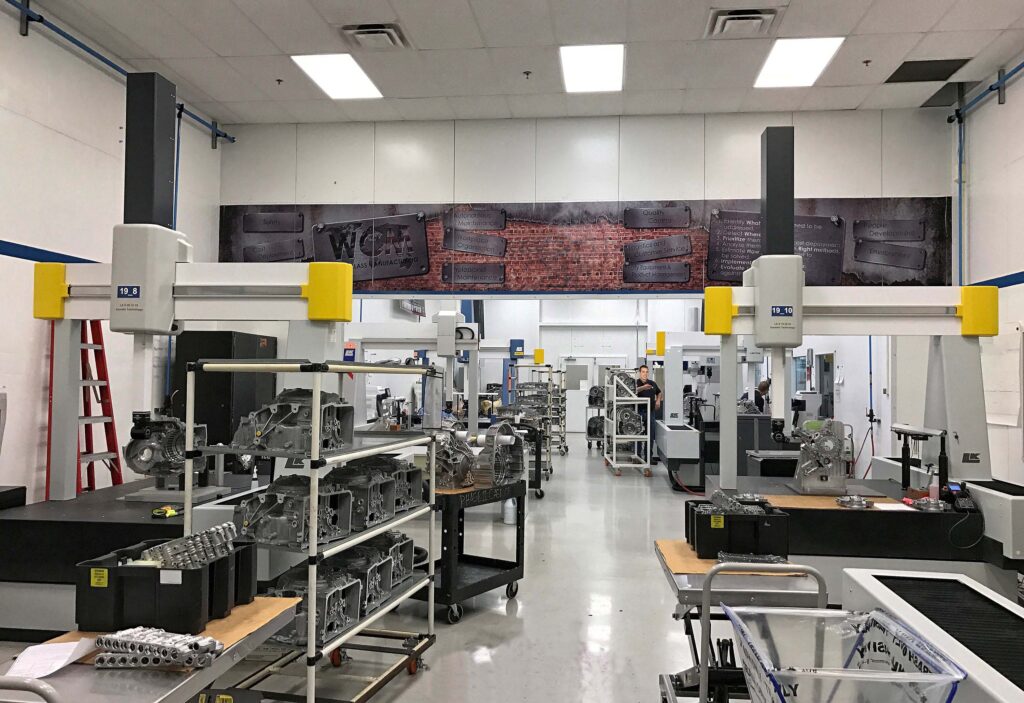
At the US transmission plant of a global automotive manufacturing group, component inspection times have been reduced by half, according to partner LK Metrology, which upgraded all of the CNC coordinate measuring machines (CMMs) on-site to use five-axis scanning technology in addition to touch probing.
The Brighton, Michigan-based metrology company is the US subsidiary of British CMM manufacturer LK Metrology, which built 19 of the 26 CMMs in use at the factory. Two are on the shop floor, and the others are installed in five quality control (QC) rooms.
The impetus for investing in the metrology upgrade, where four- and six-speed transmissions have historically been manufactured, was the addition of eight- and nine-speed versions. Since then, hybrid electric transmissions have also entered production. This put the inspection team under pressure to cope with the increased throughput, so the company ordered extra LK machines and decided to award the site-wide, turnkey REVO upgrade and servicing contract to the British company.
A spokesperson for the plant noted, “Some machined features on our transmission components need to be held within ±30 microns true position. To achieve this level of accuracy, it is essential for us to be able to hold single-figure micron tolerances on other dimensions, as tolerance build-up is inevitable. Obviously we need to measure those features, and REVO on our CMMs allows us to do that quickly and accurately.”
About 1,500 steel and aluminum parts per day are inspected, some being the same item but at different stages of manufacture. Overall, 200,000 features have to be checked daily. The benefit of the present metrology setup is that each of the five QC rooms houses identical technology and capability, with fixtures and probes freely interchangeable. This means that any operator can flexibly transfer jobs between CMMs around the site within minutes, with a level of commonality that delivers very consistent results. Previously this would not have happened, as the disparate measuring platforms within the facility meant that it would have taken hours or even days to move parts around for checking.
The speed of the new QC process has saved not only time but also money because without the technology, extra CMMs would have been required to cope with the ever-increasing throughput. For the same reason, there is a saving in overall CMM footprint, releasing floor space for other uses. Scanning and touch-trigger probing routines are applied using the REVO system, the former being faster for sections of an inspection cycle to which it is suited.
The efficiency of the quality function at the facility is now such that there is capacity to help other transmission production centers nearby. When required, checks are also carried out to ensure the conformance of parts delivered by first-tier suppliers or produced by the group’s other manufacturing plants in the US and globally.
The scanning system in use is Renishaw’s REVO, a two-axis CNC head that moves in unison with the three CNC axes of the CMM under program control to provide full five-axis inspection, collecting dimensional data accurately using a tactile stylus. It can measure discrete points on a component in a conventional manner but is also able to scan over some areas, where it is expedient, to collect data at much higher speeds without leaving the surface. It is this latter feature that has on average halved cycle times for the manufacturer.
Controlled by Renishaw’s MODUS software, the head with its two rotary CNC axes minimizes the linear acceleration and deceleration of the CMM’s large moving elements during a measuring routine, whether touch probing or scanning. It means that the three orthogonal axes move for the most part with constant velocity, allowing changes in component geometry to be followed without introducing dynamic errors. Programs are created either in teach mode using the same software or from a CAD model.
The manufacturer’s spokesperson concluded, “The system works extremely well, so we get results faster. We are currently looking at the possibility of having LK retrofit the latest REVO-2 head to our CMMs, which would allow us to acquire information on the surface finish of components in the same CNC cycles. The need for dedicated test equipment to check surface roughness could then be reduced or even eliminated. The system would also enable a multi-sensor approach to our measurement, as it can incorporate non-contact inspection using a vision probe as well as tactile methodology, should we ever decide to go down that route.”


