New vehicles are developed with meticulous precision – something the drivers are often unaware of. They profit from increasingly safer and more comfortable chassis, which are, for instance, researched and developed at the Vehicle Test Centre of the Technical University of Dresden, Germany.
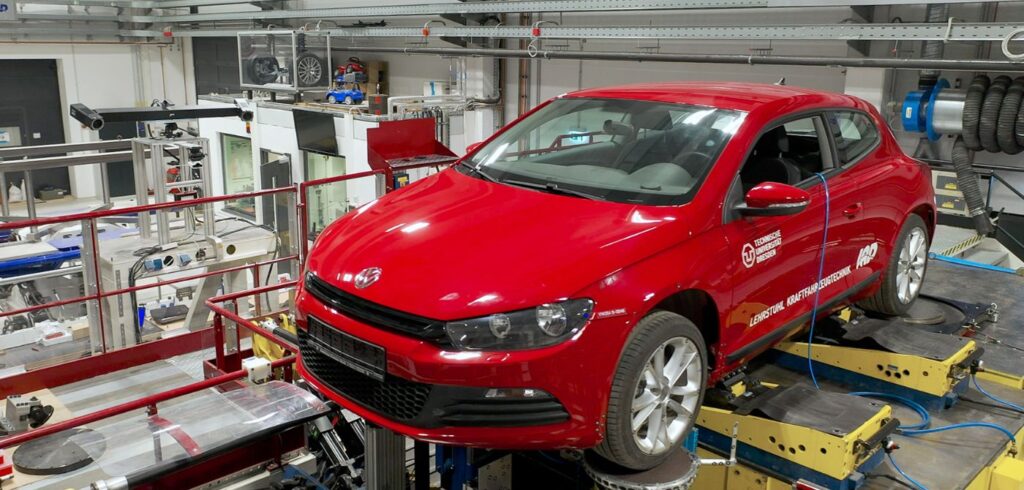
Within Europe, the center boasts the only full-vehicle test stand outside the automotive industry with which to analyze vehicles and individual parts under static and dynamic loads. The test center uses GOM’s Aramis system to capture the complete vehicle as it interacts with the components, the chassis, the axles and the tires.
The optical 3D measuring system features fast, time-phased and non-contact analyses and enables flexible use. Users at the center were impressed by its high measurement accuracy and that it is suited for both static and dynamic tests – on the test stand but also on the test track where the system is to be used as well.

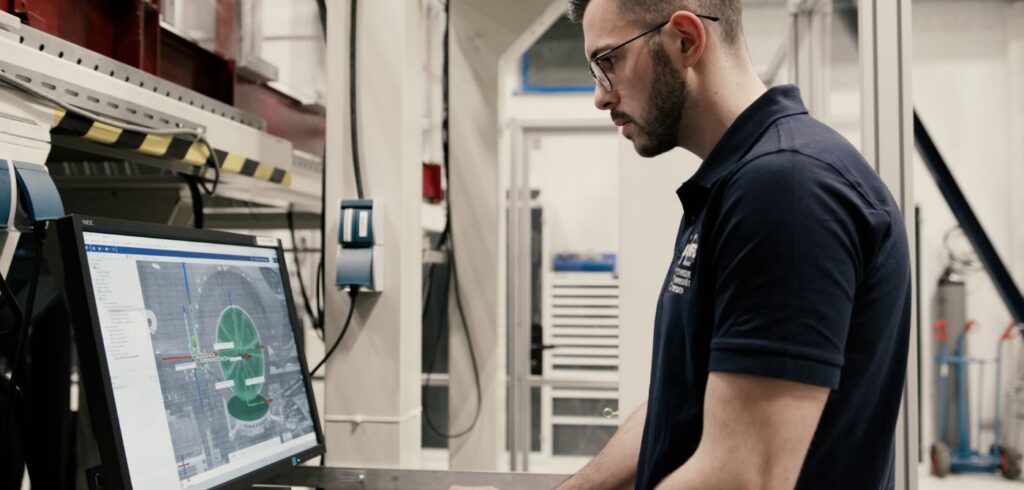
The Aramis SRX double sensor scans – simultaneously with other measurement channels – the entire vehicle chassis, its wheels and both of its sides in the vehicle coordinate system in accordance with the DIN 70000 standard. Compared with traditional displacement sensors (LVDT), non-contact measurements with Aramis sensors deliver 3D point clouds that permit analyses in all six degrees of freedom (6DoF). The beauty of this being that elements such as the angular position of a wheel can be evaluated quickly and easily.
During axle measurements, Aramis is mainly employed for wheel position dimensions, i.e., the geometrical position of the wheels in relation to the body and the road, which has a significant impact on chassis properties (directional stability, tire grip and wear). Translational and rotational motions in space (wheel position during compression and rebound, changes in camber, track, etc.) are especially important for such measurements. Here, the system offers another major advantage for engineers; the measurement results can be processed immediately.


